
The scenario is straightforward: a regular domain user has WRITE permissions on a shared folder. That’s enough to plant a malicious .lnk file pointing to an attacker-controlled SMB server. The moment another user browses that share in File Explorer, the system attempts authentication automatically – and the NETNTLMv2 response is captured.
From there, the path splits.
If the password is weak, the hash can be cracked offline. If SMB signing is not enforced, NTLM Relay becomes possible.
In our lab, we relay authentication to another server, authenticate as the victim user without knowing the password, dump LSA and SAM, and execute commands remotely. The chain ends with a shell running as NT AUTHORITY – all triggered by simply opening a file share.
This technique still works in many environments because of small decisions that seem harmless in isolation: broad WRITE permissions on shares, NTLM still enabled, inconsistent SMB signing enforcement, and the assumption that “low-privileged” users are low risk.
Security failures rarely come from one dramatic vulnerability. They happen when small misconfigurations line up at the wrong moment.
If a standard user can write to a share and NTLM is still allowed, your environment may already be exposed to this attack path.
In this CQURE Hacks episode, we walk through the entire chain step by step: from share discovery, through hash capture and cracking, to NTLM relay and remote execution to show how quickly control can be gained.
Understanding these mechanics is essential, because defending infrastructure requires knowing exactly how it can be taken over.
Ready to Level Up Your Defensive Game?
Modern identity attacks go far beyond “simple” password guessing. To truly protect your infrastructure, you need to understand the techniques that actually break environments today – and how to close those paths for good.
Join us on March 5th for Module 3 of the Security Master Annual Program: Hardening Active Directory Infrastructure.
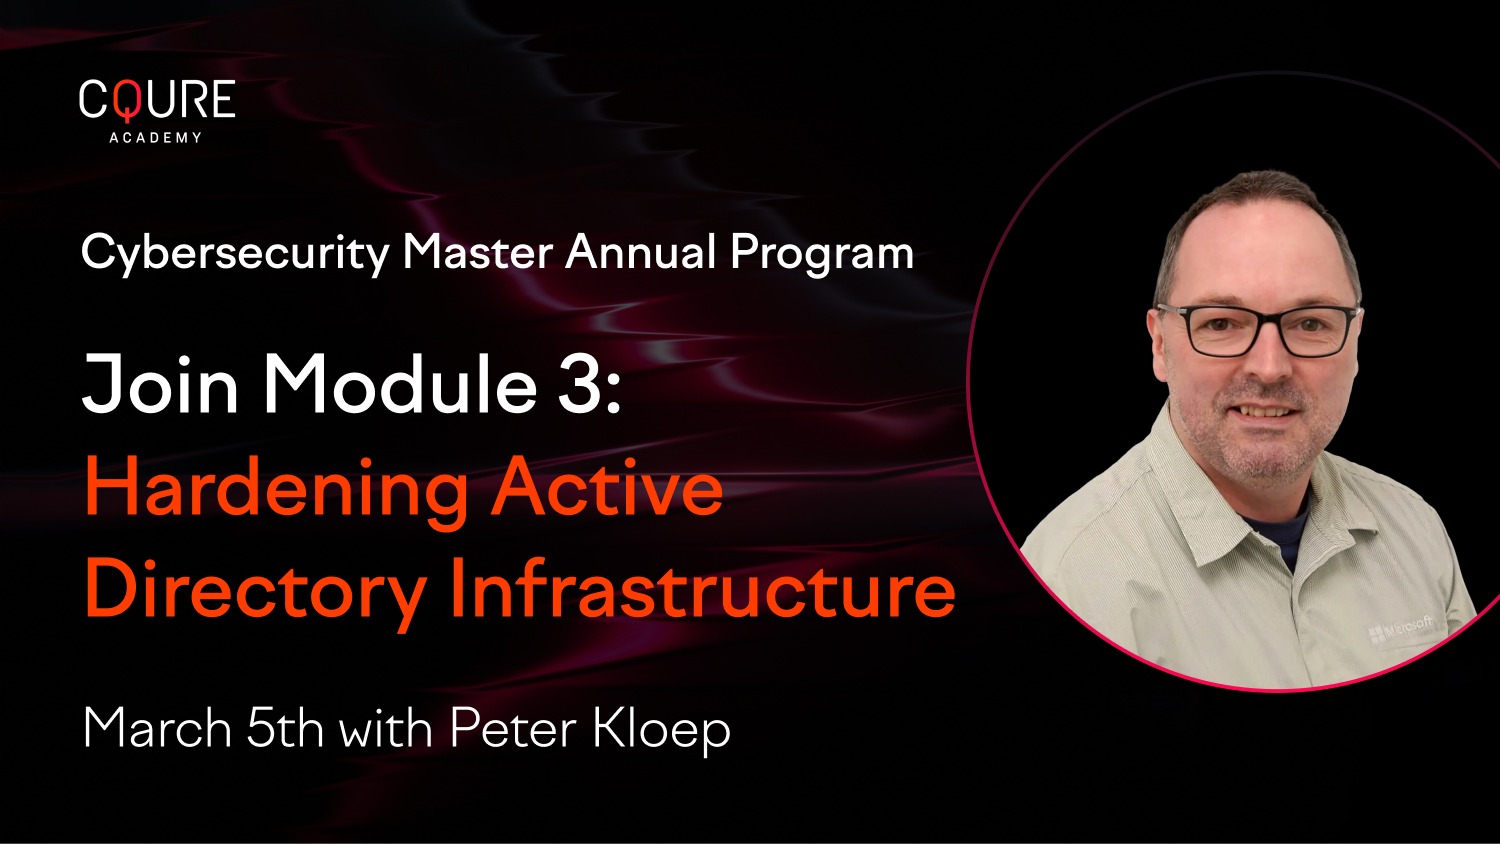
In this intensive 1-day course, we will cover:
1. Modern Identity Attack Techniques: Moving beyond the basics to see how elite attackers move.
2. Preventing Credential Theft and Misuse: Practical strategies to lock down your identities.
3. Recommended AD Configuration Options: The “Gold Standard” for Active Directory security.
4. OS-Level Credential Protection Features: Deep-dives into LSA Protected Process, Credential Guard, and RDP Restricted Admin Mode.
5. Detecting Backdoors in Active Directory: Finding the hidden threats before they are triggered.
Secure Your Spot for March 5th here!
TRANSCRIPT
Hi, everyone. In today’s CQURE Hacks, we will show you attacks using a shortcut file to capture Net-NTLMv2 hash, and crack it to initiate NTLM Relay Attack. Let’s move on to our lab environment. Starting from the beginning, let’s first use “crackmapexec” with the option “shares” to find a share with the right permissions. For this, we use the credentials of “bob”, who is a regular domain user. As we can see on the SRV01 host, there is a share named “documents” on which “bob” has the right permissions. Let’s now switch to Windows on which we are logged in as “bob”. Let’s go to this Network Share, discovered previously.
[01:04] As we can see, there are some documents here. Let’s try to create a file here to make sure we actually have these permissions. The file has been created, but deleted now. Now, let’s move on to PowerShell ISE. Using PowerShell, we can create a shortcut file with extension .lnk that will refer to our SMV server that will be running on our Kali Linux using responder or impacket NTLM-relay. This is the IP address of our Kali over here, so it’s very important to remember. This file will be created in the secure folder under the name “malicious.lnk, and let’s run this script.
[01:58] Now, let’s go to the C: > CQURE folder and check if the file has been created. As you can see, the “malicious” file has been created. Let’s now copy and paste it into the “documents” share. Now, we go back to Kali Linux and enable the responder to listen for incoming connections with a command like this: “responder -I eth0”. Now, let’s go back to Windows, on user “bob”, and open share “documents” again. At this point, nothing will happen because in the file explorer, this “malicious” file we uploaded here is not visible. As you can see in the respond there, nothing is happening. Only when we go to the bottom, like now, and see it in the file explorer, It calls back to the IP address that we specified when creating this file. The user “bob”, on whom we are logged in, invoked our server, and we intercepted his hash net-NTLMv2.
[03:16] Let’s try to rename this file so that the user who enters this share doesn’t have to go to the very bottom, but the file is displayed at the very top. Let’s add the “@” sign at the beginning of the file name. After reentering, we see that the file is already at the very top.
[03:41] Let’s try to do the same thing, but from a different host and the Administrator user. Open the File Explorer again and go to Documents Share on the SRV01 Host. Only open and do not do anything else. Now, let’s check on Kali Linux if the hash was captured. And the hash has been intercepted. As you can see, we can do a lot of things with that. So question is, what actually we can do with it? Well, we can, for example, crack it if the password is, in practice, not difficult. So let’s copy this hash, disable the responder, and save it in the file “hash.txt”. Let’s use John the Ripper to crack it.
[04:40] The hash has been cracked easily, and here we see the administrator’s password. Well, okay. Let’s now move on to the NTLM Relay Attack again, using the same .lnk file we created earlier. Let’s generate a list of the servers using “crackmapexec”, and save it to a file “targets.txt”. Let’s use the “cat” command to see if it was generated correctly. Now, let’s turn on the script “impacket-ntlmrelayx” with that list we created earlier, and the options “smb2support” and “socks”.
[05:28] Let’s simulate the Administrator opening this share again. Let’s go back to the Kali machine. We see that the Administrator has connected to our server. Let’s use the “socks” command to see which host it managed to relay to. We see that it’s the host with this IP address (10.10.10.30).
[06:04] What can we do next? First, we need to see and set the proxy chains to port 1080, as you can see here. We open a new console, but do not close this one, and edit the /etc/proxychains4.conf file, so the config file, and go to the very bottom and add this line, and save the file. Here, it has already been added earlier. Now, using proxy chains, we can, for example, use “crackmapexec” as administrator on the host 10.10.10.30, to which we managed to relay. The password can be anything because we are already authenticated with net-NTLMv2 using a Relay Attack.
[07:01] As you can see, we have successfully authenticated for an experiment. Let’s change the password, and you can see that the effect is exactly the same. What can now, for example, happen is by using “crackmapexec”, we can dump the LSA, we can do the same with “sam” database – for example, we can also use “impacket-smbexec” to execute a reverse shell and connect to this host as anti-authority.
[07:38] We’ve been connected. So, let’s use the commands “whoami”, hostname, and so on. We can also do “whoami /all” so you can see the effective result of our action. As you can see, this .lnk file allows us to initiate attacks with NTLM Relay, and you only need the right permission on any of the shares to set up the trap for other users. Then it’s enough that any user accesses the share, and we have their net-NTLMv2 response ready for cracking. If SMB signing is disabled somewhere, we can even use NTLM Relay Attacks.
Want to know more?